Anterior Hip Masterclass #2: considerations, Tips and Tricks for a primary THA
This video is the second in a series of 5 lectures on anterior hip replacement, specifically focusing on primary total hip replacement. The first lecture was an overview of the anterior approach and its evolution.
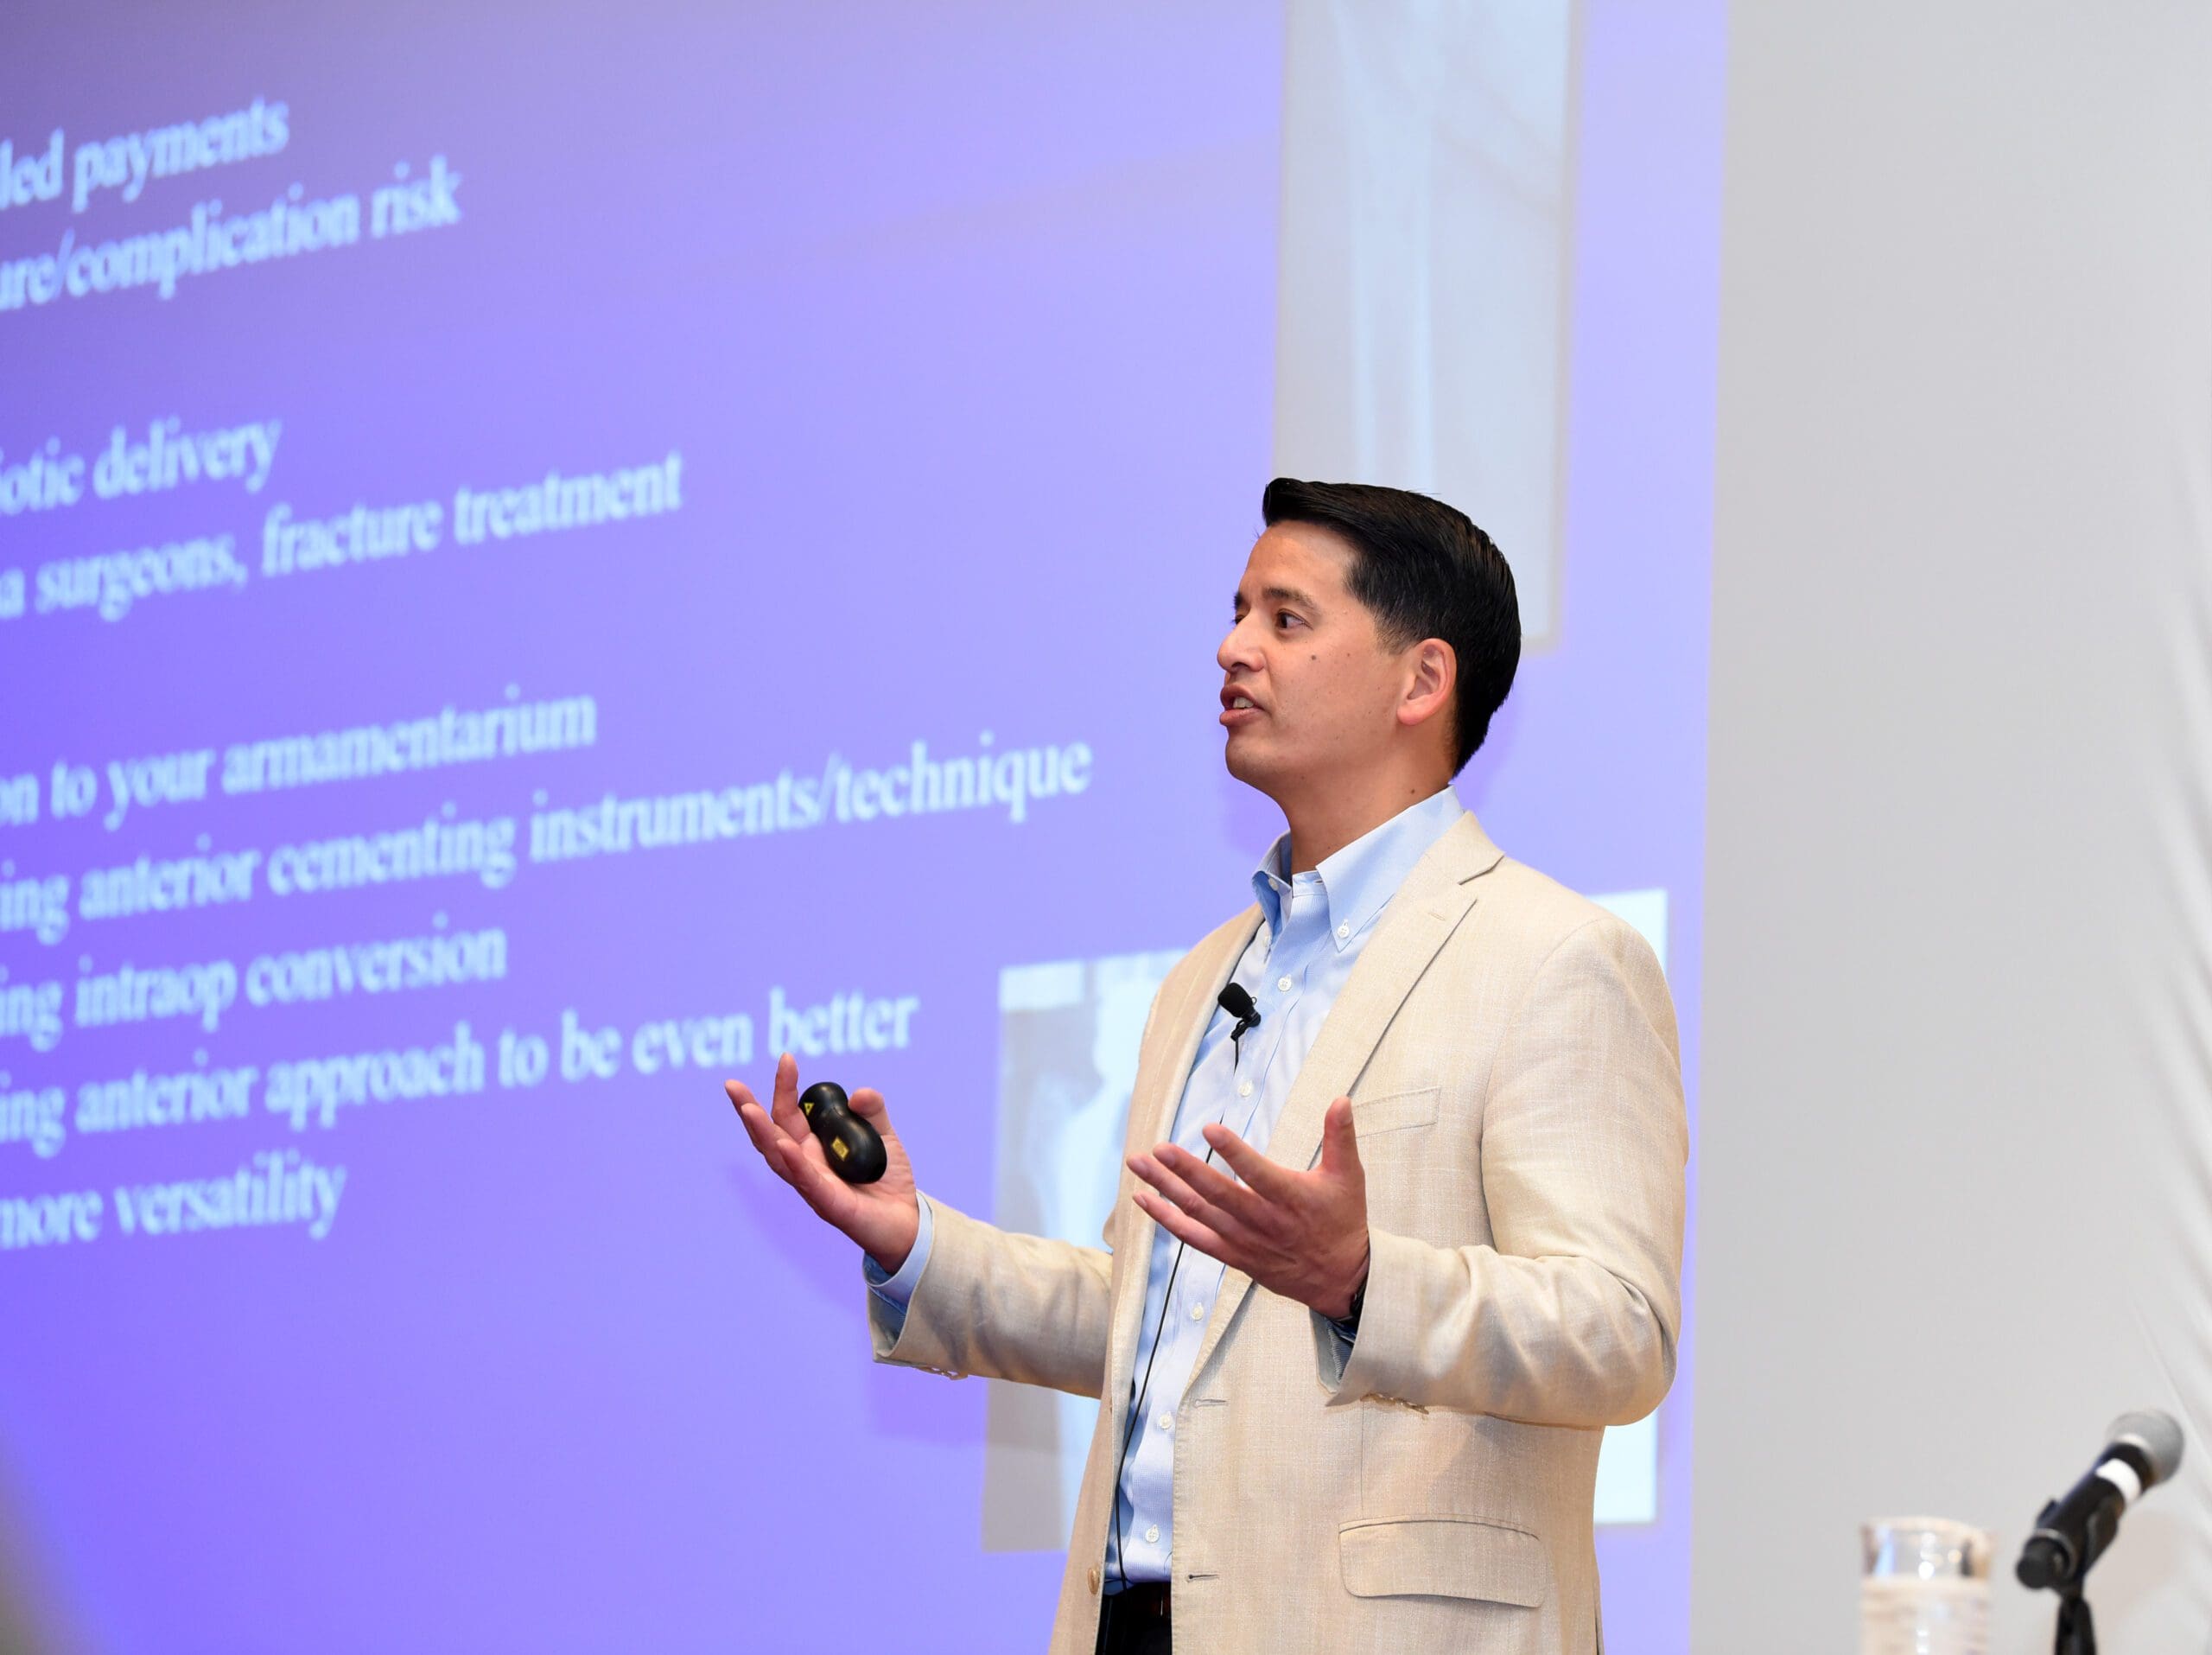
In this second lecture, Dr. Yerasimides narrates a video of each key stage of a primary hip replacement. He shares his thought processes from initial positioning and instrumentation to wound closure and highlights some key learnings including:-
- Patient positioning and considerations for the location of the incision depending on the table type (eg standard OR table or Hana table)
- The releases that will help you mobilize and retract muscles, and those that are not necessary.
- The optimal capsulotomy location – poor positioning of the capsulotomy can create increased difficulty for later steps. Why a capsulotomy is preferable to a capsulectormy.
- A commonly overlooked step is releasing the entire medial capsule which has a significant impact in terms of ensuring good acetabular exposure.
- The keys to a good neck cut and the landmarks to use for positioning.
- Optimal retractor positioning for acetabular exposure
- Use of fluoroscopy during reaming – how to quickly ensure that you have a level pelvis using radiographic landmarks and the landmarks to consider for anteversion/ inclination
- When you move on to the femur – you’ll see the benefits of tagging the capsule at the beginning, for example, to help guide your releases.
- Appropriate releases to ensuring good femoral exposure, getting the piriformis to clear the top of the trochanter, and freeing the tip of the trochanter from under the acetabulum.
- Femoral prep using a box osteotome or rongeur. The starting position is posterior to the neck, rasping laterally. Be cautious about getting too lateral. The industry is moving away from the old thinking that varus is bad. You want to avoid getting too lateral to avoid too much valgus.
- Revisiting the angle of broaching and its relationship to the skin incision – on a Hana table or other specialized orthopedic table, the incision needs to be more anterior. This positioning becomes more important with advanced cases and revisions – which will be explored in more detail in future lectures.
- Wound closure
In lecture 3 -we’ll explore incisions in more detail – including the extension of the incision for the femur and extension up to the acetabulum, bikini incision. We’ll also dive deeper into reading interoperative fluoroscopy shots.

